How to Start Painting Army Men
A beginner-friendly guide to turning plastic toy soldiers into painted miniatures, one simple step at a time.
Miniature painting is the art of adding life, color, and detail to small figures. For army men, that means taking simple green, tan, or gray plastic soldiers and turning them into tiny characters with uniforms, gear, faces, shadows, and history.
You do not need to be an artist. You do not need expensive tools. You just need a few basic supplies, a little patience, and a willingness to learn by doing.
What Is Miniature Painting?
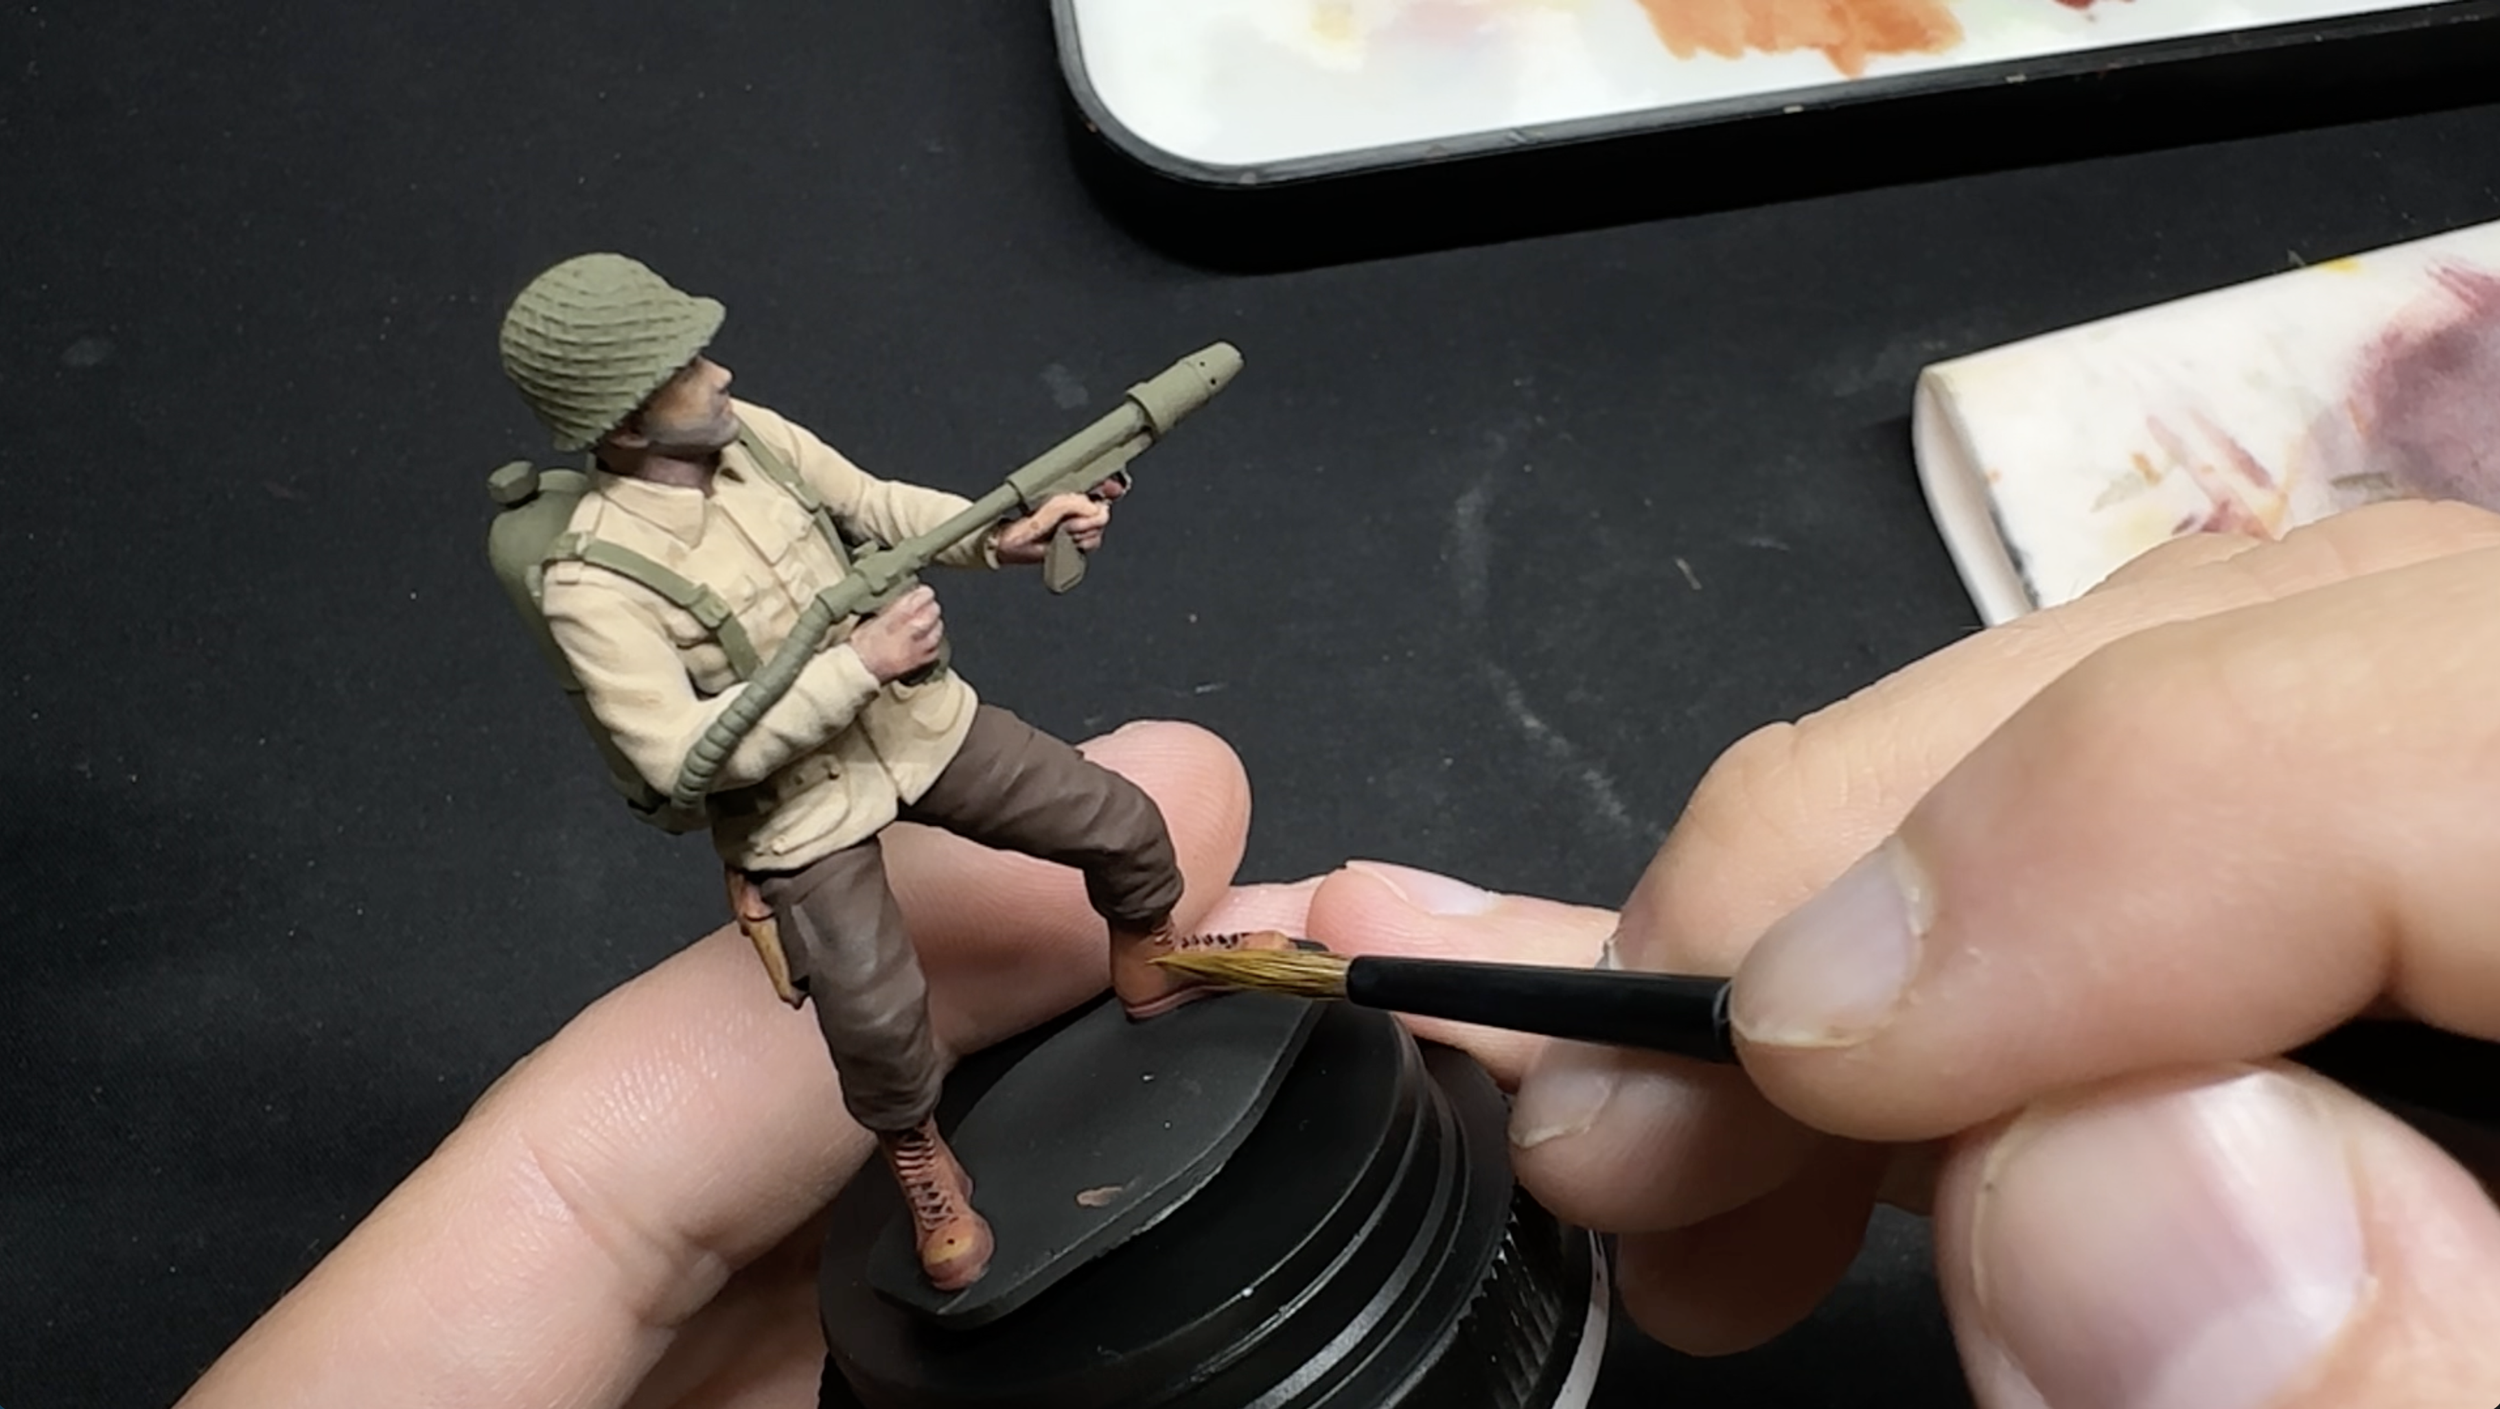
Miniature painting is a hobby where small figures are cleaned, primed, painted, detailed, and sealed. Some people paint for games. Some paint for display. Some paint because they grew up with toy soldiers and want to bring them back to life.
Painting army men is a great place to start because the figures are affordable, familiar, and full of character. A simple plastic soldier can become a World War II infantryman, a paratrooper, a medic, a Marine, or a custom character from your own imagination.
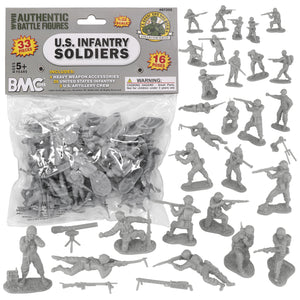
BMC CTS WW2 US Infantry 33 Piece Set
A timeless collection of 1/32 scale World War II American soldiers from BMC Toys. Featuring multiple action poses and heavy weapons, this set is ideal for collectors, painters, wargamers, and anyone who loves classic plastic army men.
As an Amazon Associate, I earn from qualifying purchases.
The Basic Painting Process
Most army men can be painted using a simple 5-step process.
Step 1: Clean the Figure
Wash the figure with warm water and a little dish soap. This helps remove mold release, dust, and oils from your hands.
Step 3: BASECOAT
Basecoating means blocking in the main colors. Paint the uniform, helmet, boots, skin, weapons, and gear.
Step 1: Seal The Figure
A clear varnish protects the paint from handling. Matte varnish is usually best for toy soldiers because it removes shine and keeps them looking realistic.
Step 2: Prime the Figure
Primer helps paint stick to the plastic. Black, gray, and white primer are the most common choices.
Black primer is forgiving and adds instant shadows.
Gray primer is balanced and easy to see.
White primer makes colors brighter.
Step 4: Add Detail
This is where the figure starts to wake up. Add belts, straps, buttons, faces, pouches, weapons, and small highlights.
Common Beginner Techniques
You do not need advanced techniques to get good results. Start with these.
BASECOATING
Use thin, smooth layers of paint. Two thin coats are usually better than one thick coat.
DRYBRUSHING
Drybrushing adds quick highlights. Wipe most of the paint off your brush, then lightly drag it over raised details.
WASHING
A wash is thin paint that flows into cracks and details. It helps create shadows fast. Brown and black washes are the most useful for army men.
Choosing brushes
You do not need expensive brushes to get started. In fact, many beginners learn faster with affordable brushes because they are less worried about damaging them.
You do not need fancy brushes at first. Start with three basic brush types. Take care of your brushes by rinsing them often, keeping paint out of the metal ferrule, and reshaping the tip after painting.
Medium Brush
Use this for uniforms, helmets, and larger areas.
Detail Brush
Use this for faces, straps, weapons, and small gear.
Drybrush
Use this for fast highlights and texture.

Wet Palette for Miniature Painting
Keep your paints fresh longer, improve blending, and make miniature painting easier with a quality wet palette. It's one of the first tools I recommend to anyone getting started painting army men and miniatures.
As an Amazon Associate, I earn from qualifying purchases.